Blog
A Step-by-Step Guide to Using WLED with an ESP8266

Installing WLED on an ESP8266 Board
First, download the ESPHome-Flasher tool from the ESPHome-Flasher GitHub page. Find the installer for your operating system and download it. Remember where you save it, as you will need it later.

2.Go to the WLED GitHub releases page and download the WLED_0.x.x_ESP8266.bin file. Note: The file you download depends on your board. If you are using a different board, such as an ESP32, you must download the corresponding file for that board.

3.Connect your board to your computer using a USB data cable. Open your system's Device Manager (or equivalent) to check if the port is connected successfully. If no serial port appears, your cable may be charging-only; please try a different cable.

Locate and run the ESPHome-Flasher application you downloaded.

Select the COM port that your ESP8266 is connected to.
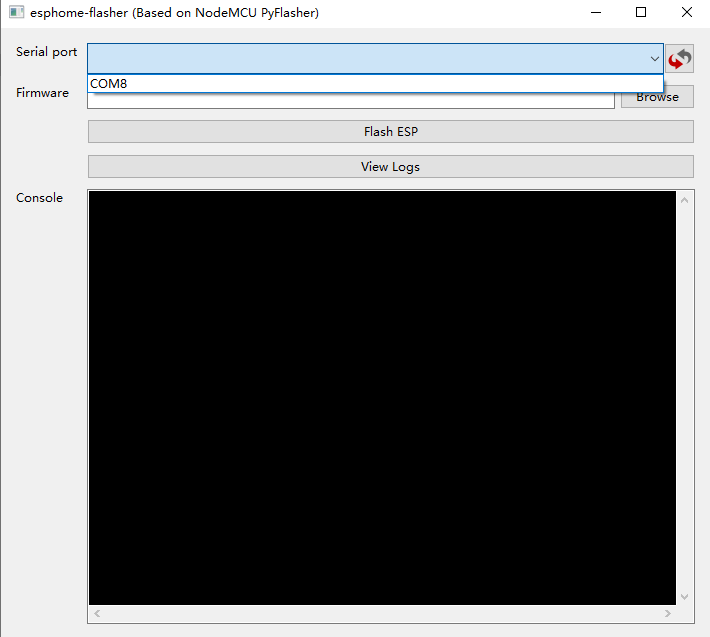
Click the ‘Browse’ button and select the WLED binary file (.bin) you downloaded in step 2.

Click ‘Flash ESP’ to flash the firmware to the board. The process is complete when you see the message "Done! Flashing is complete!". You can then close the program.

Once it displays “Done! Flashing is complete!”, you can exit the program.

Using your computer or phone, find and connect to the Wi-Fi network named WLED-AP. The default password is wled1234.

Your default browser should automatically open to the WLED web interface. If it doesn't, manually type http://4.3.2.1 into your address bar to access it.
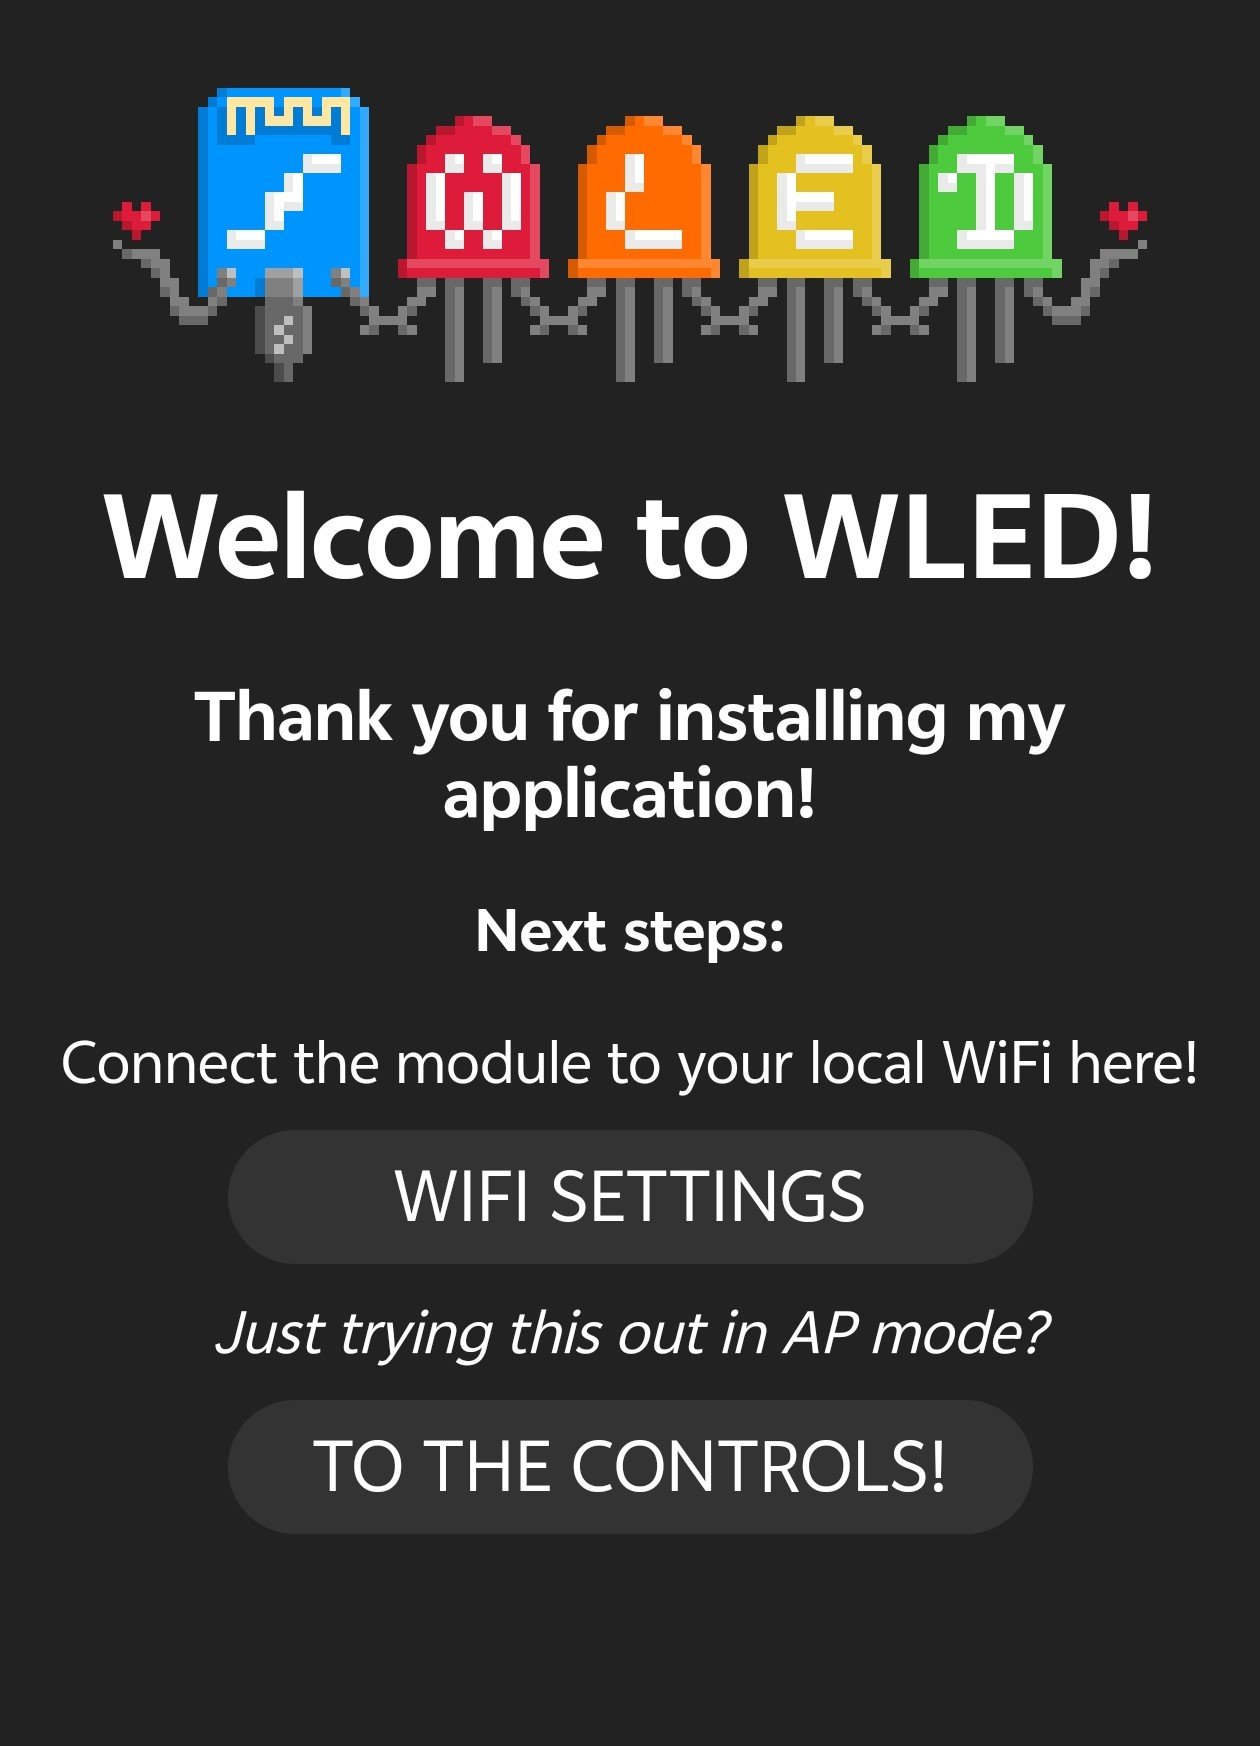
Click 'TO THE CONTROLS' to access WLED

Connecting a LED Strip to an ESP8266
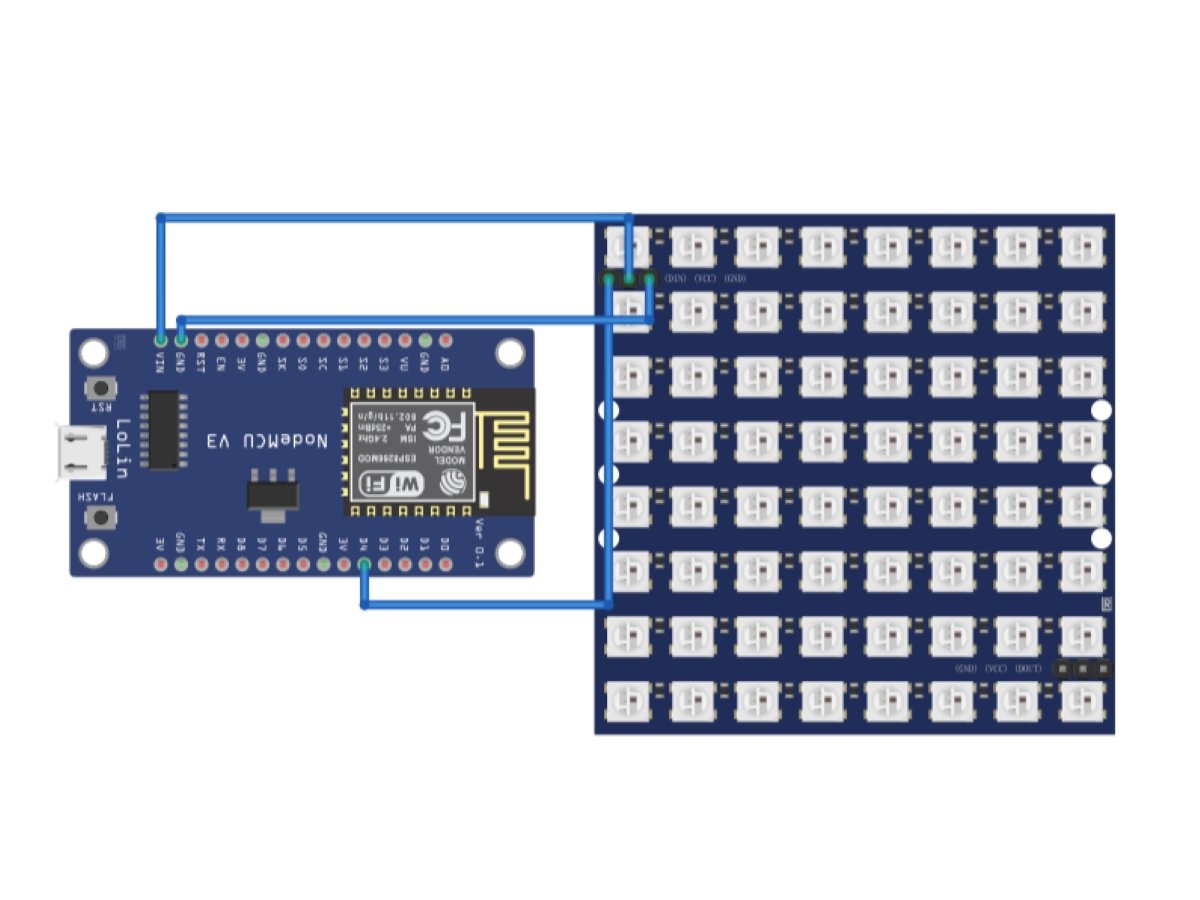
| WLED | ESP8266 Pin/Interface | Description |
|---|---|---|
| VCC (Power Supply Positive) | VIN (5V) | Connection for positive power supply |
| GND (Ground) | GND | Ground connection |
| DIN | D4 | Connection for data input line |
Configuring the WLED
- Click on Config and select LED Preferences
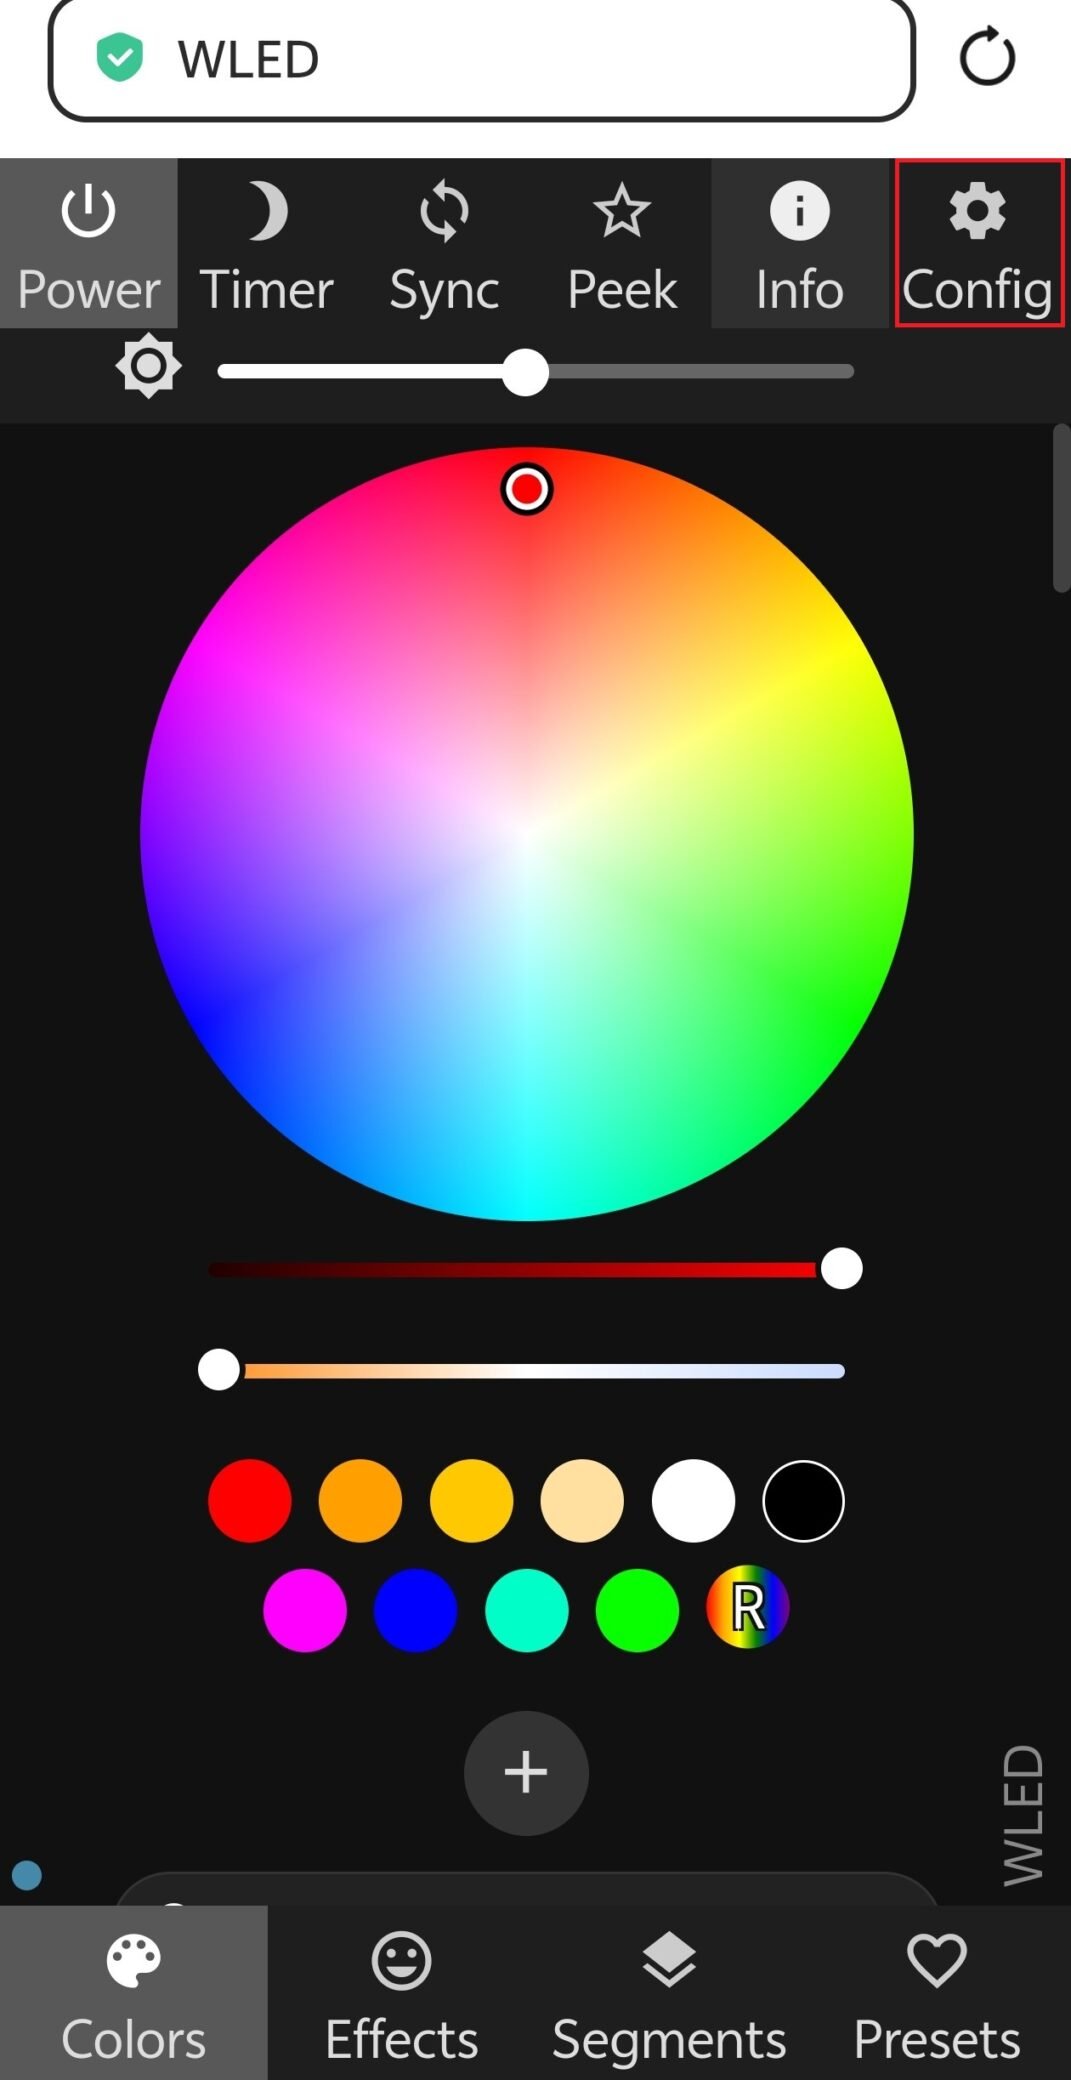

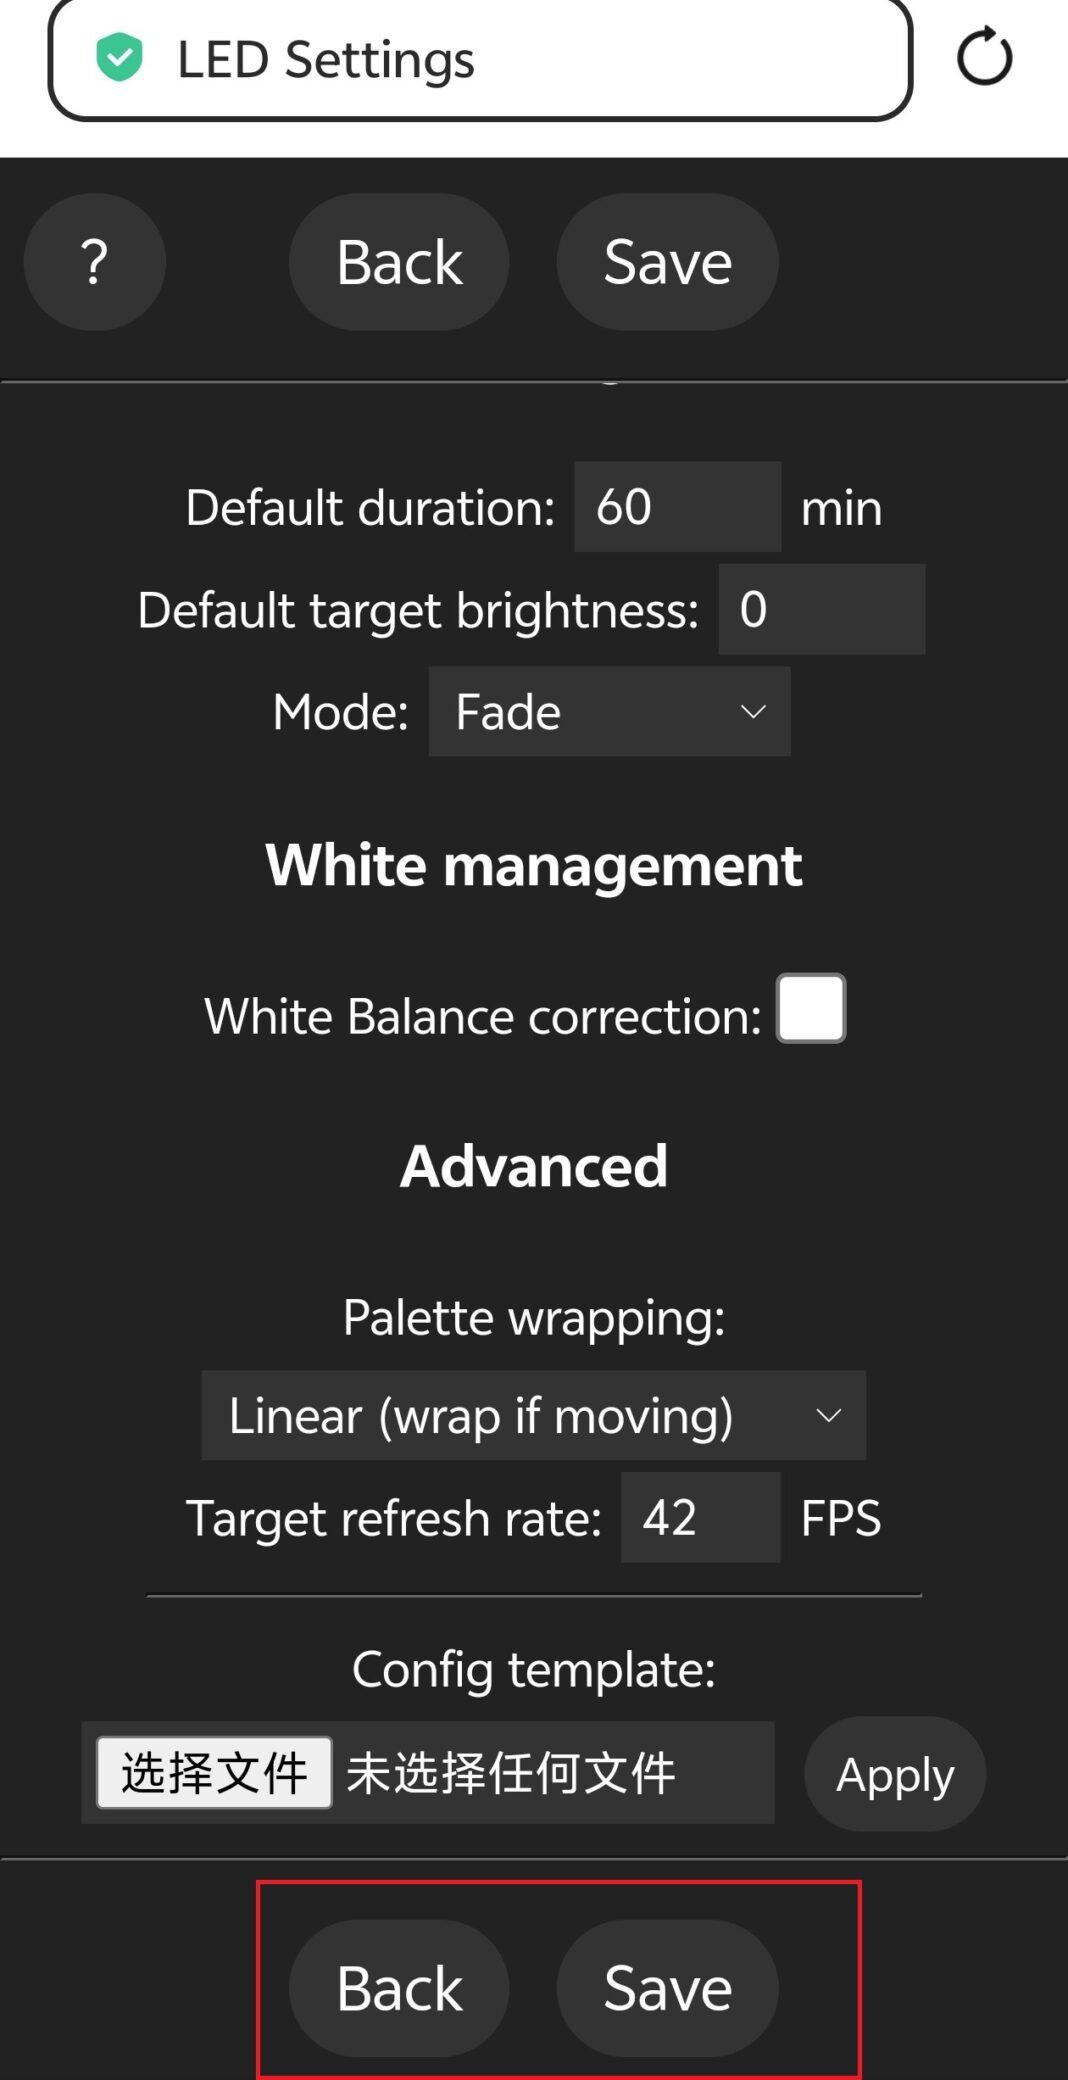
2.Find Hardware Setup, select your light strip type, the number of LEDs, and your GPIO port.I am using a WS2812B strip with 24 LEDs. For the data pin, I have selected GPIO2, which corresponds to pin D4 on the ESP8266 development board.

3.Scroll down to the bottom and click Save. Click Back to return to the main screen.
WLED Interface Overview
The WLED interface has 10 buttons in total, located in the upper and lower parts
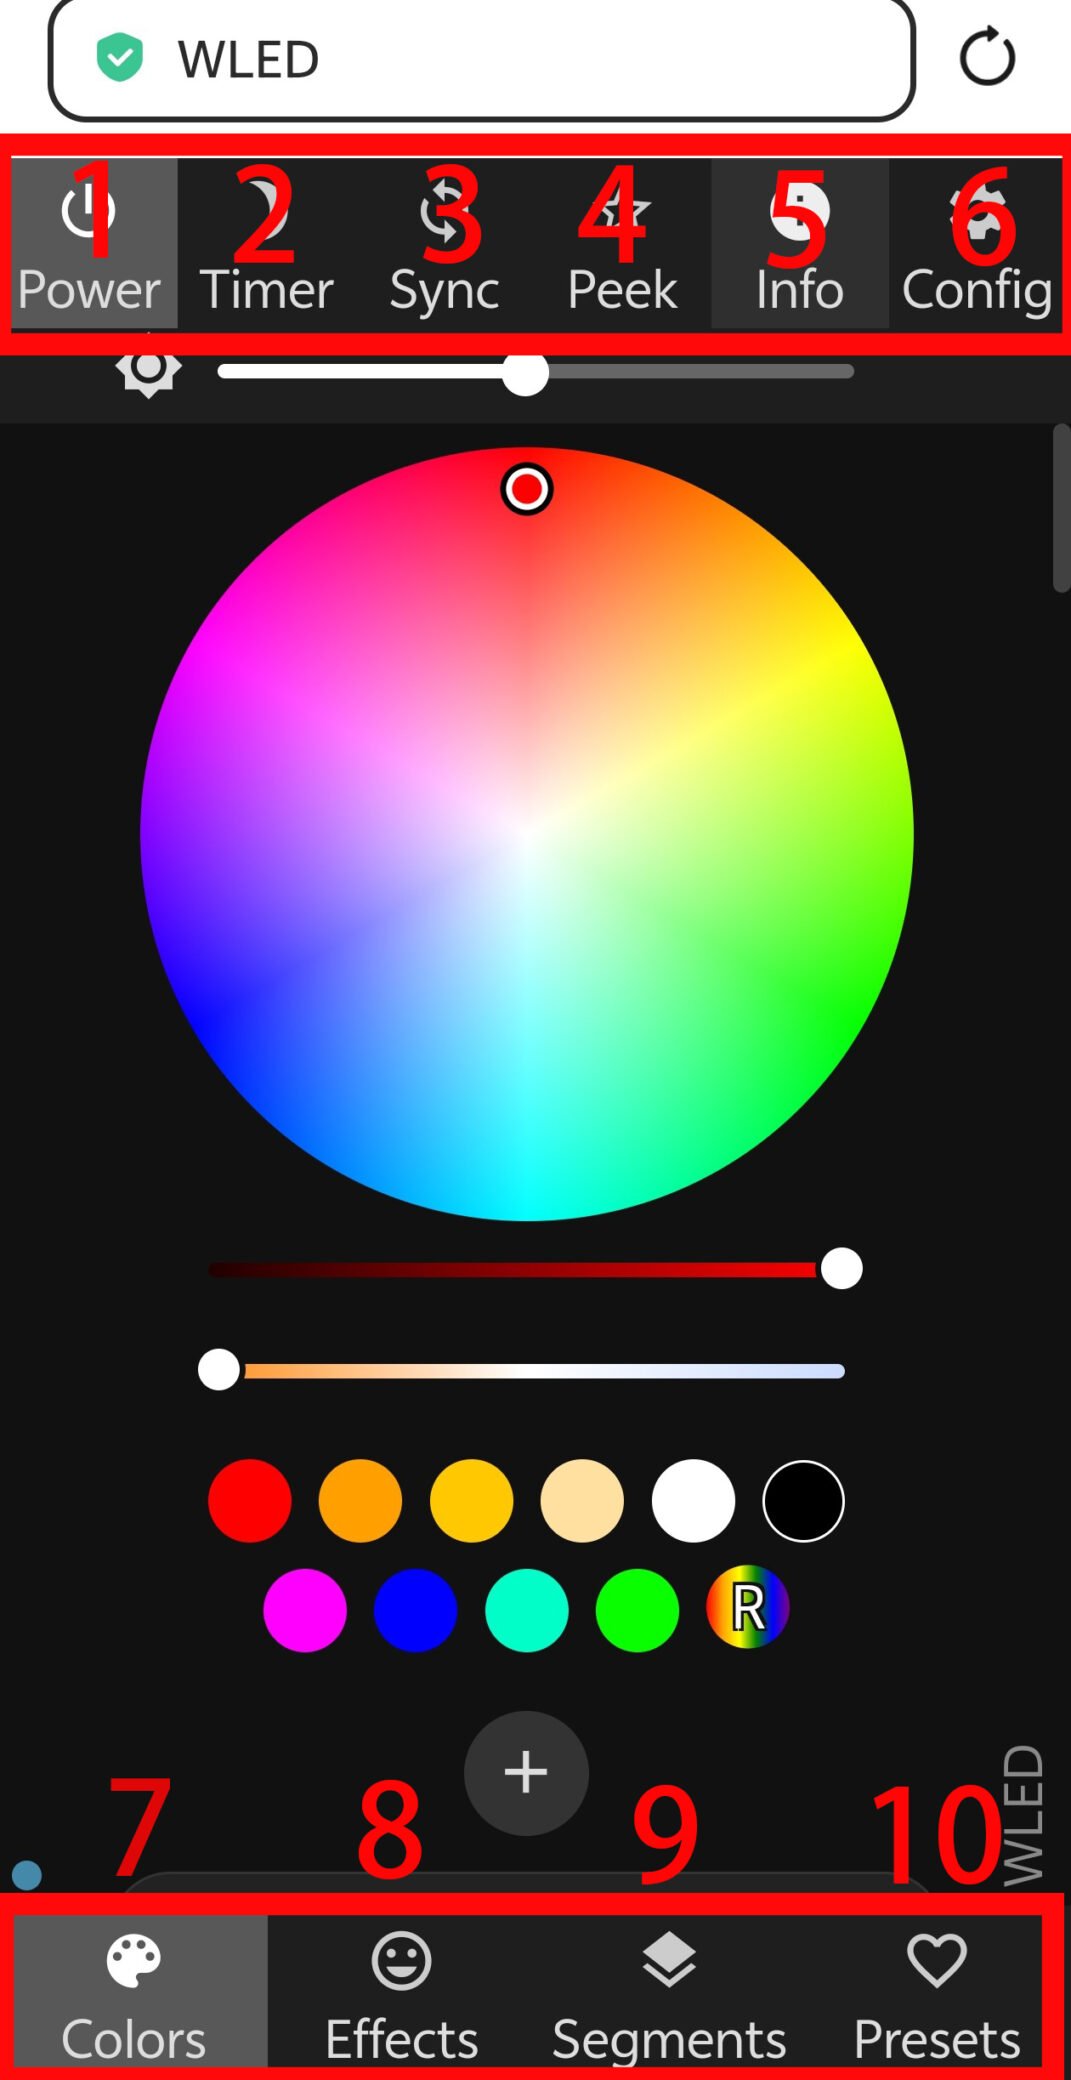
- Power: Used to turn the light on or off.
- Timer:Here you can schedule the lights to turn on and off at specific times of the day.
- Sync:If you have multiple WLED devices on your network, you can sync them here.
- Peek:You can preview the effect of your selected lights here.
- Info:View all information about your WLED device here.
- Config:You can configure the number of LEDs and the GPIO port here.
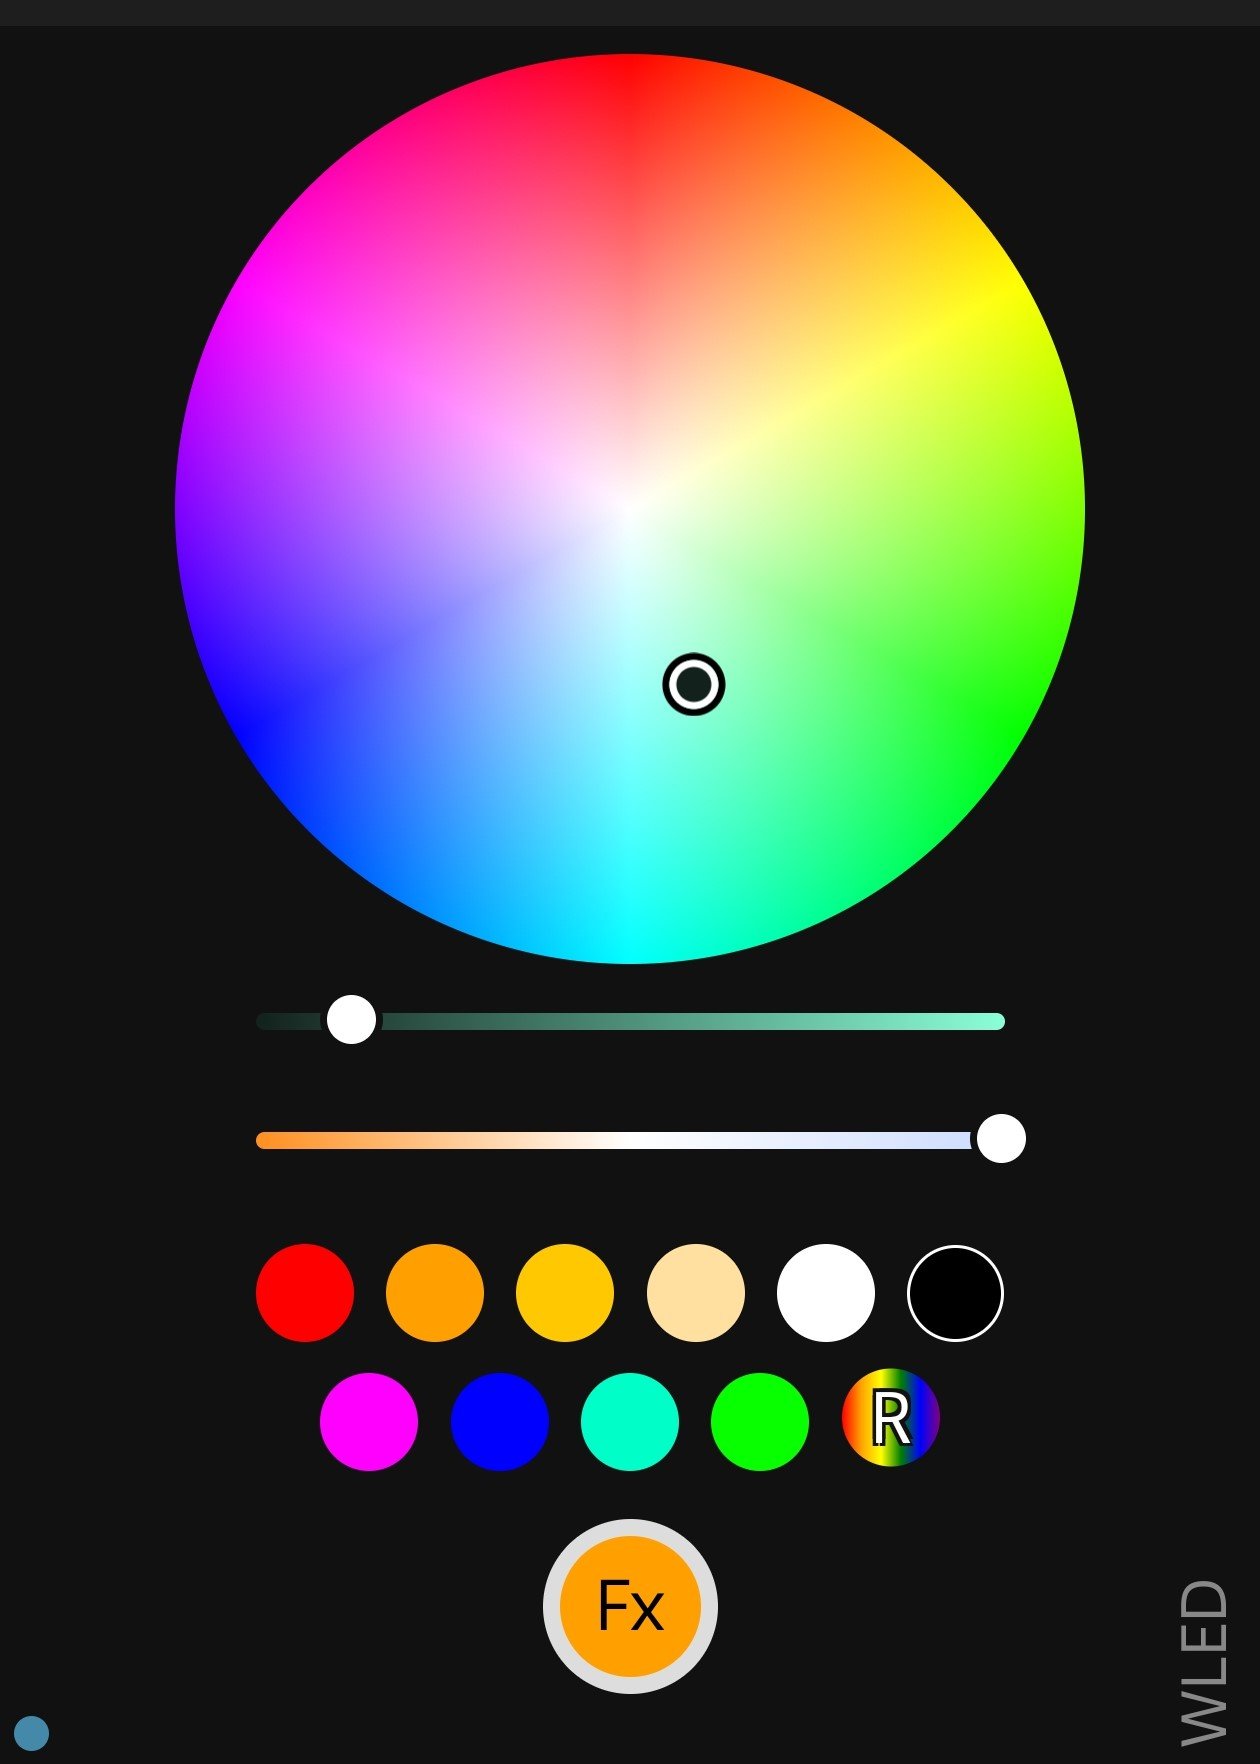
7.Color: Use this to change the color of your LEDs.
8.Effects:This is a library of preset light animations. Simply click on one to apply it. You can also customize the effects of any animation.

9.Segment:If you want to divide your LEDs into multiple segments, with each segment displaying different colors and animations independently, you can configure this here.
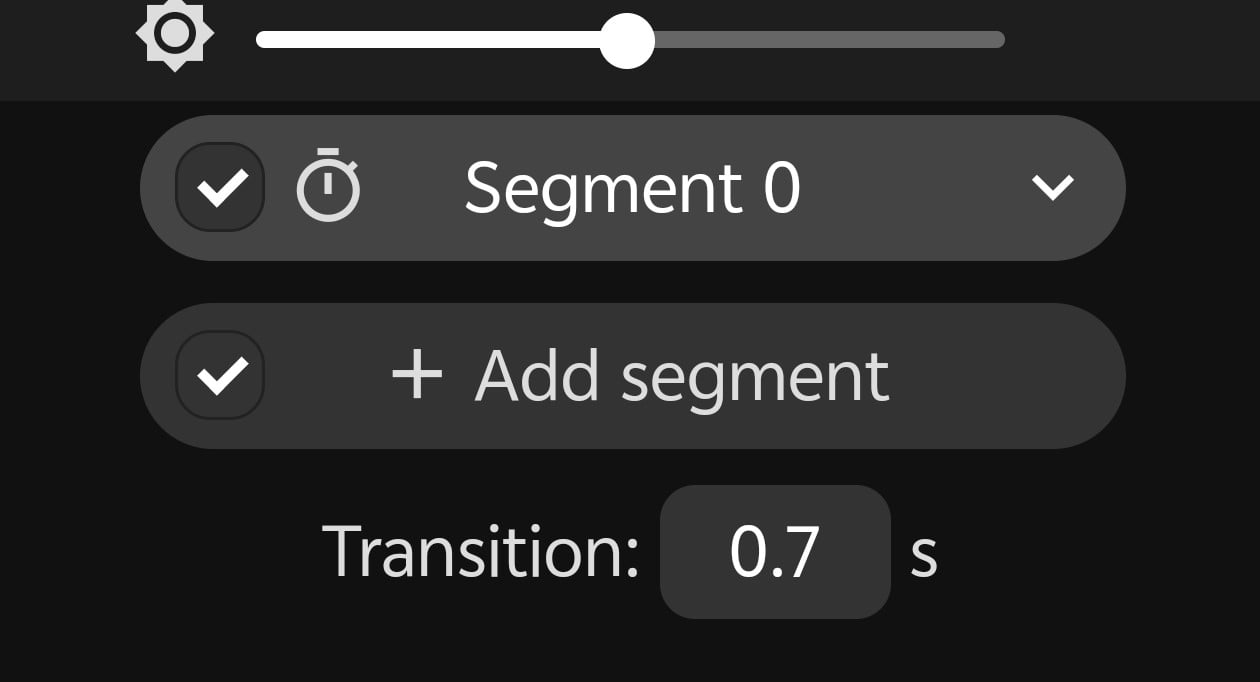
10.Presets:Here, you can create presets for your custom light show, as well as a playlist to cycle through the many available animations.
