Soil moisture sensor is an electronic device used to measure the water content in soil. By detecting the electrical or moisture-related properties of the soil and analyzing the transmitted data, it enables various smart management applications, such as agricultural irrigation and environmental monitoring.
2.What is FC-28?
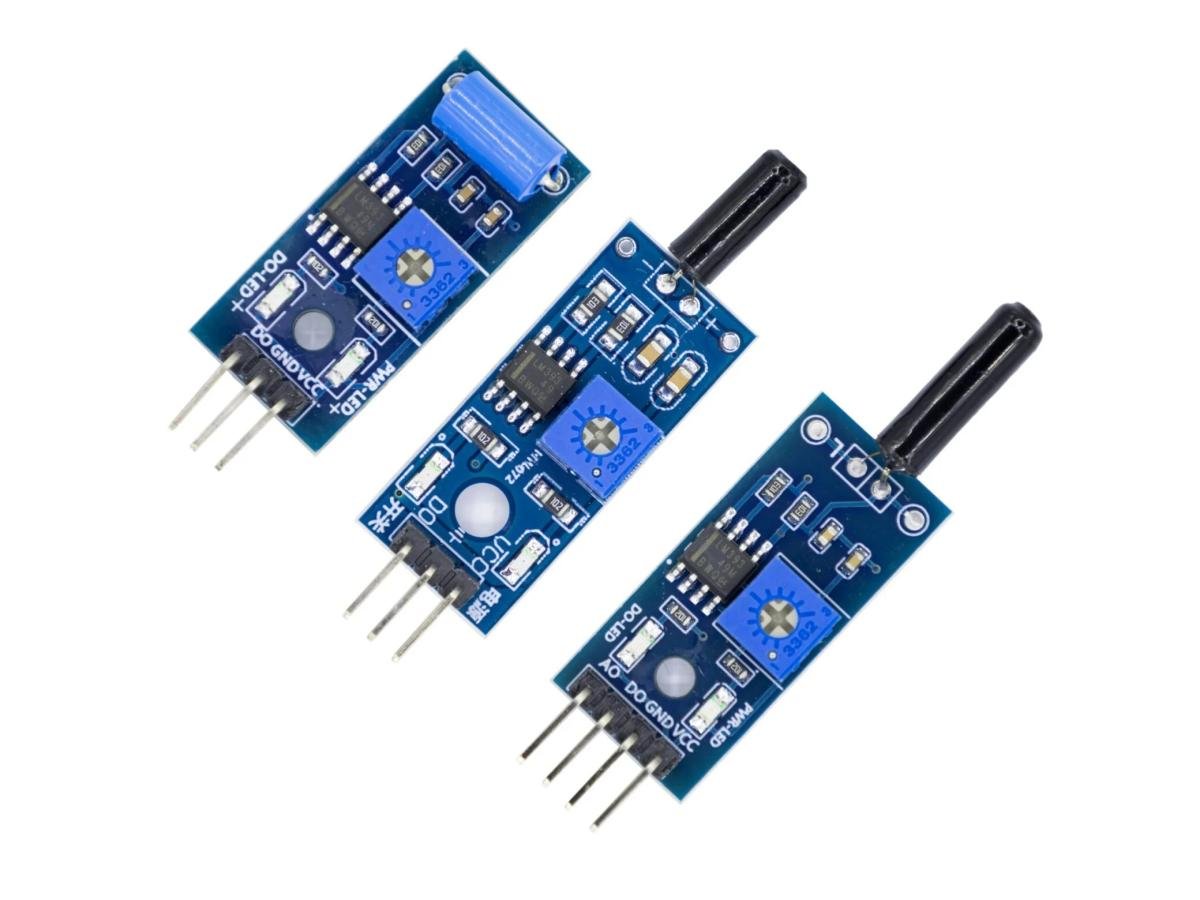
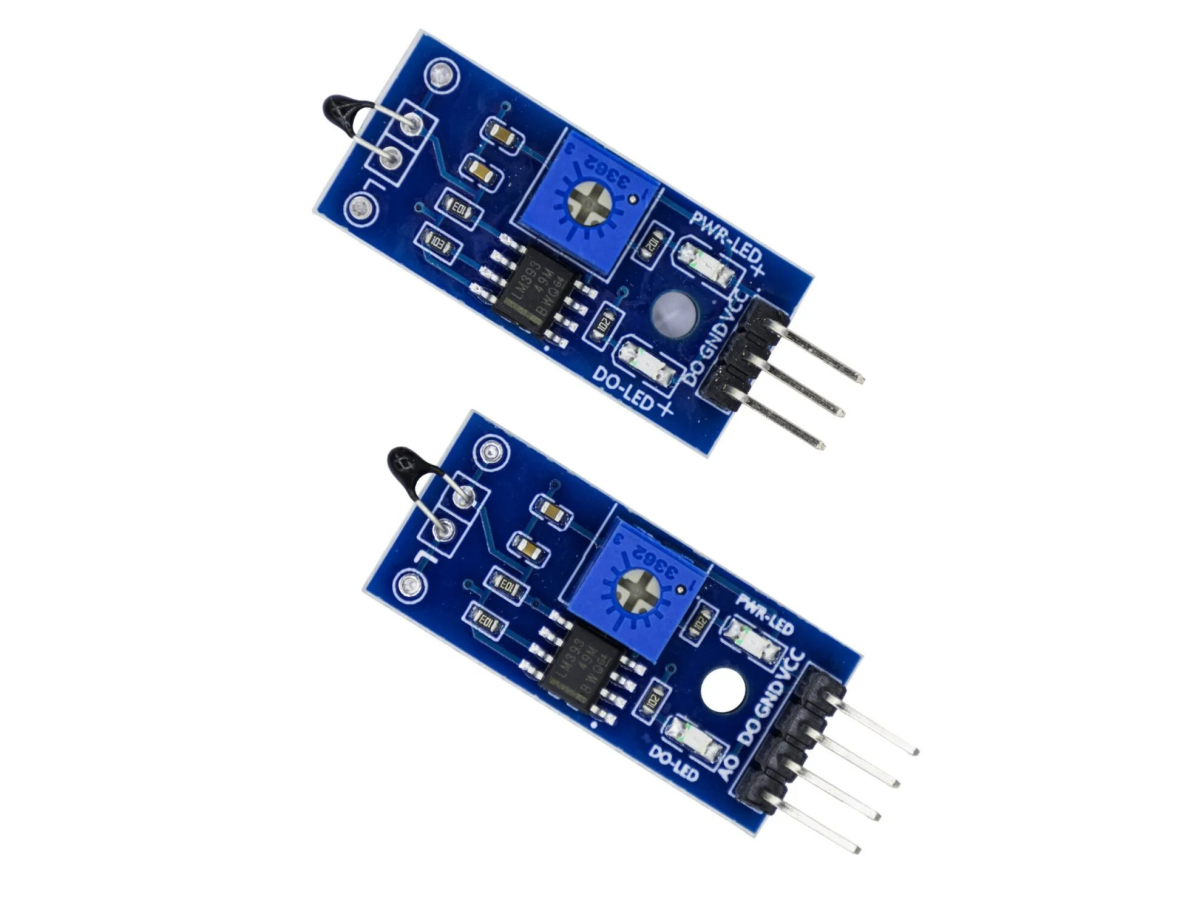
The FC-28 is a resistive soil moisture sensor. Its working principle is to detect the conductivity in the soil to measure moisture content—the drier the soil, the weaker the conductivity and the lower the output voltage, and vice versa.
FC28 is low-cost and compatible with development boards such as Arduino, STM32, and ESP. Therefore, FC28 is commonly used in agricultural irrigation, environmental monitoring, and DIY plant detection.
3.Types of Soil Moisture Sensors
Soil moisture sensors are mainly divided into resistive, capacitive, TDR, FDR, tensiometers, etc.
4.How does a soil moisture sensor work?
Depending on the type, soil moisture sensors operate differently. For example, resistive sensors measure humidity by detecting soil resistance, while capacitive soil moisture sensors measure changes in the soil’s dielectric constant. Many other types also employ distinct measurement methods, and these differences in measurement techniques define their classifications.
5.Comparison of Soil Moisture Sensors
PARAMETER
FC-28 (RESISTIVE)
CAPACITIVE V1.2
DECAGON 5TE (FDR)
TDR (HIGH-END RESEARCH GRADE)
Working Principle
Soil resistance measurement
Dielectric constant changes (capacitance)
Frequency-domain reflectometry (FDR)
Time-domain reflectometry (TDR, EM pulses)
Accuracy
Low (affected by salt/corrosion)
Moderate (less soil-dependent)
High (requires calibration)
Extremely high (lab-grade)
Stability
Fair (prone to oxidation)
Good (no electrode corrosion)
Excellent (long-term use)
Outstanding (minimal drift)
Response Speed
Fast
Fast
Moderate
Fast
Cost
Very low (~$1.5–$4.5)
Medium ($7–$30)
High ($70–$300)
Very high (> $450)
Calibration Needed
Frequent (salt interference)
Initial calibration (soil type)
Professional calibration
Factory pre-calibrated
Power Consumption
Low (battery-friendly)
Low
Medium
High
6.Performance Parameters
PARAMETER
VALUE/SPECIFICATION
DESCRIPTION
Operating Voltage
3.3V ~ 5V DC
Common voltage range compatible with most microcontrollers
Output Signal
Analog (0-Vcc)/Digital (DO)
Can be adjusted through code for optimal performance
Operating Current
Approx. 15-20mA
Standard current range for electronic components
Output Resistance
Varies with moisture (≈1kΩ-10kΩ)
Lower resistance indicates wetter soil conditions
Interface Type
4-pin (VCC, GND, AO, DO)
AO = Analog Output, DO = Digital Output
Response Time
<1 second
Fast response but may exhibit noise in dynamic environments
Operating Temperature
-10°C to +60°C
Avoid usage in freezing conditions
Protection Rating
Unprotected (exposed electrodes)
Not waterproof – avoid immersion
PIN
AOUT: Analog output, data processing can be performed via microcontroller DOUT: Digital output, triggers when threshold is reached (trigger threshold can be adjusted via the blue potentiometer) VCC: Power supply, typically connected to 5V GND: Ground, reduces electromagnetic interference and prevents electric shock
This demonstration uses the soil moisture sensor model FC-28 (LM393), connected to Arduino+OLED.
First, we need to connect the OLED and FC-28 to Arduino. The wiring diagram is as follows:
We are using the AOUT interface this time to obtain accurate values for ease of use.
After connecting, open Arduino IDE. After installing the Adafruit SSD1306 and Adafruit GFX libraries, upload the code.
#include <Wire.h>
#include <Adafruit_GFX.h>
#include <Adafruit_SSD1306.h>

#define SCREEN_WIDTH 128
#define SCREEN_HEIGHT 64
#define OLED_RESET -1
Adafruit_SSD1306 display(SCREEN_WIDTH, SCREEN_HEIGHT, &Wire, OLED_RESET);

const int soilPin = A0;          // FC-28 AO pin connected to A0
const int dryThreshold = 30;     // Alert when moisture < 30% (Note: 0% = driest)
const int airValue = 1023;       // RAW value in dry air (0% moisture)
const int waterValue = 200;      // RAW value when fully submerged (100% moisture, needs calibration)

void setup() {
  Serial.begin(9600);
  if (!display.begin(SSD1306_SWITCHCAPVCC, 0x3C)) {
    Serial.println("OLED initialization failed!");
    while (1);
  }
  display.clearDisplay();
  display.setTextSize(1);
  display.setTextColor(SSD1306_WHITE);
}

void loop() {
  int sensorValue = analogRead(soilPin);
  // Map RAW value inversely to percentage (1023→0%, 200→100%)
  int moisturePercent = map(sensorValue, airValue, waterValue, 0, 100);
  moisturePercent = constrain(moisturePercent, 0, 100); // Limit to 0~100 range

  // Display on OLED
  display.clearDisplay();
  display.setCursor(0, 0);
  display.print("Soil Moisture:");
  display.setCursor(0, 20);
  display.print("Raw: ");
  display.print(sensorValue);
  display.setCursor(0, 40);
  display.print("Percent: ");
  display.print(moisturePercent);
  display.print("%");

  // Low moisture alert (lower % = drier)
  if (moisturePercent < dryThreshold) {
    display.setCursor(0, 55);
    display.print("!! NEED WATER !!");
  }
  display.display();

  // Serial output (optional)
  Serial.print("Raw: ");
  Serial.print(sensorValue);
  Serial.print(" | Percent: ");
  Serial.print(moisturePercent);
  Serial.println("%");

  delay(1000);
}
Upload the code, then you can see the OLED screen displays data. Normally the RAW value is around 1023, at this time the humidity percentage is 0, which will trigger an alarm. You can cover the sensor with a tissue, when the humidity is above 30% the alarm will be deactivated.
8.FAQ
8.1 How to check if a soil moisture sensor is working?
If the data is visualized, you can use a wet tissue to touch the sensor to observe whether the data changes normally. If there is no visualization, you can connect to a microcontroller, simply compile a program, and use the serial monitor to observe whether the data is normal. (The code in the above tutorial includes the function of the serial monitor and can be used directly.)
8.2 What is the problem with the soil moisture sensor?
When using resistive soil moisture sensors, avoid direct immersion in water. If the electrodes are soaked for extended periods, they easily oxidize, reducing service life. Cleaning is also difficult, requiring electrode maintenance.
Capacitive soil moisture sensors are more expensive than resistive ones, especially TDR and FDR types, which can cost dozens of times more. Their calibration is relatively complex. Installation also requires greater precision, otherwise accuracy will significantly decrease.
8.3 Are soil moisture sensors worth it?
If you want to use it for plant monitoring, such as soil moisture sensor irrigation and other functions, using soil moisture sensors is definitely worth it. Soil moisture sensor price is very cheap, and the service life is also very long, completely worthy of farm or soil moisture monitoring scenarios.
8.4 What is the life expectancy of a soil moisture sensor?
The service life of a soil moisture sensor is related to your usage environment. If you use a resistive soil moisture sensor, its service life is generally 1-3 years, depending on whether you expose it to highly humid environments for extended periods. If it’s a capacitive soil moisture sensor, the service life is generally 3-5 years.